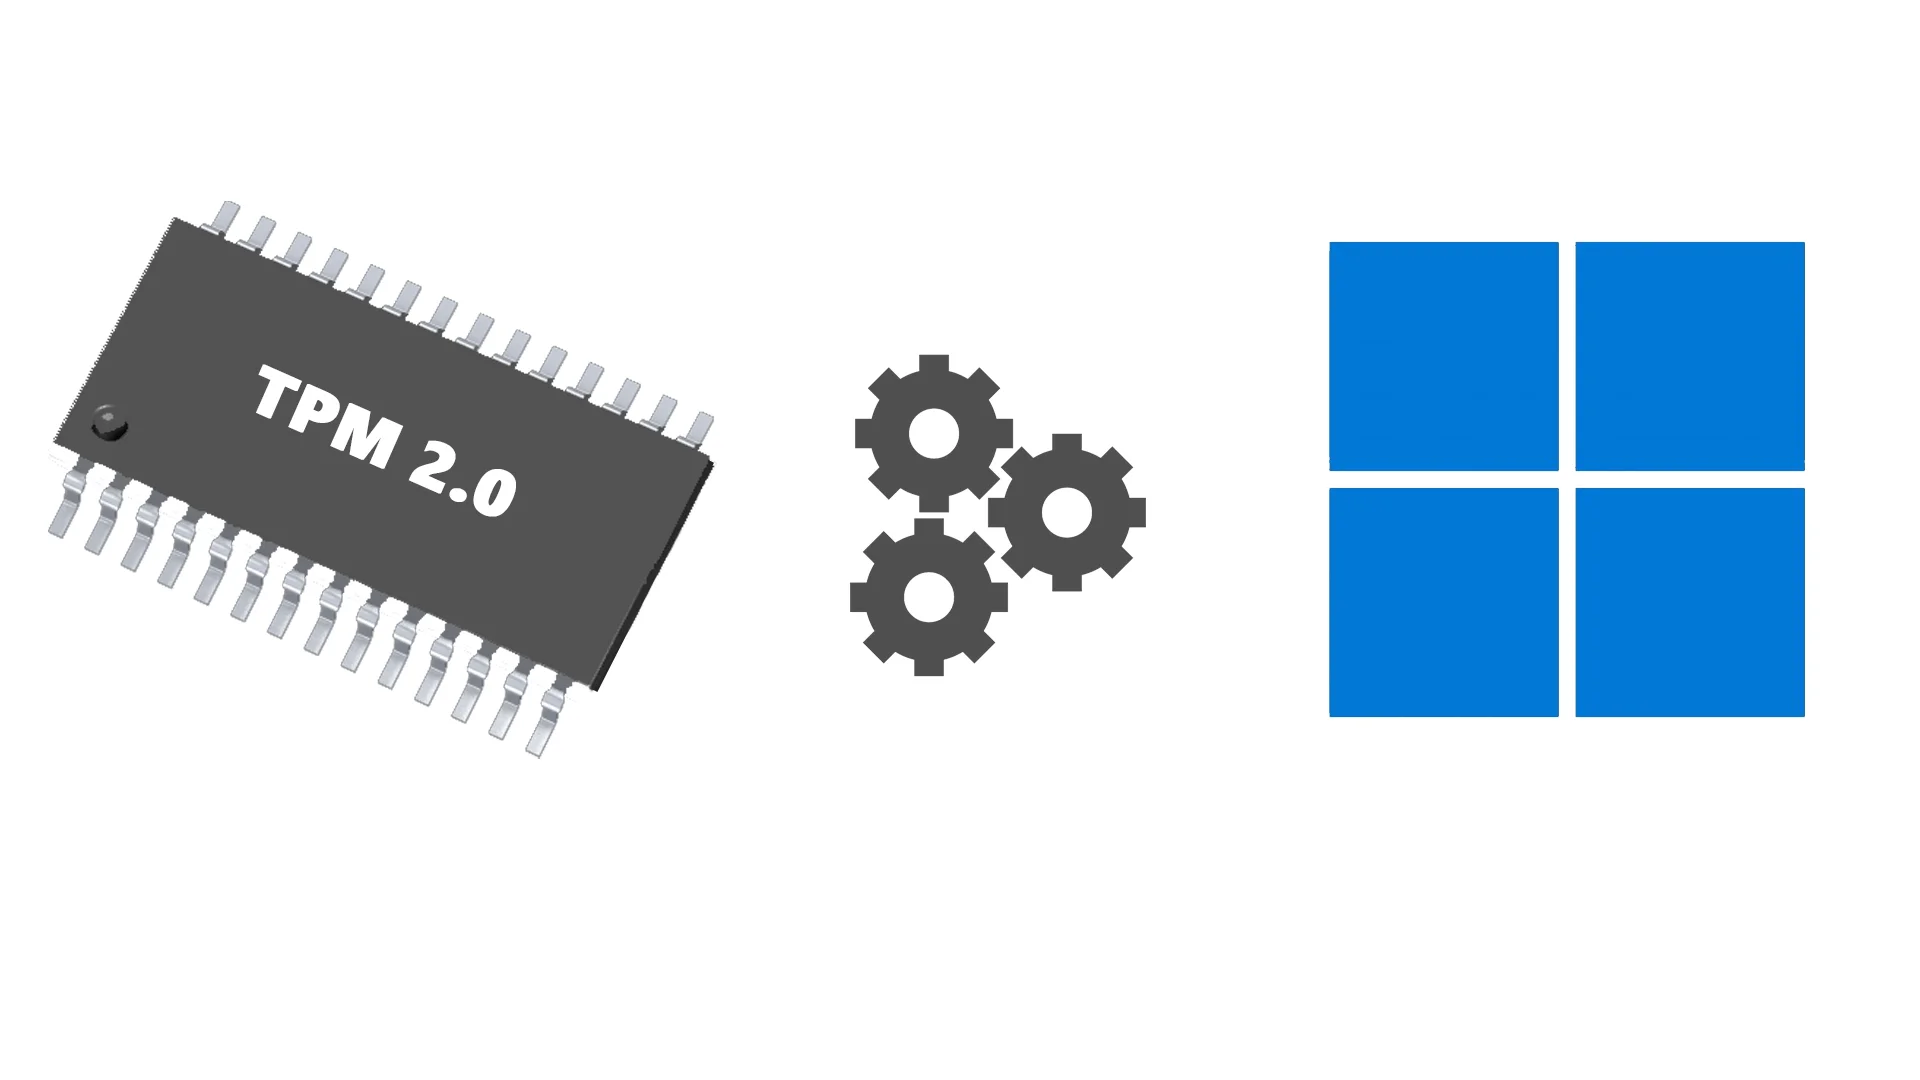
A TPM also called a Trusted Platform Module is a programmed component used to secure a computer with the help of integrated cryptographic keys.
In others words, TPM is a hardware chip (IC) that is used to protect our computer (pc or laptop) from unauthenticated sources (hardware or software).
TPM is used for many purposes like identification, authentication, data encryption, verification, and so on.
Features
Some of the most common features of TPM are:
- It is a program hardware chip.
- It is available on the computer’s motherboard.
- It is also available through the software.
- It is used to authenticate the hardware devices.
- It can be used for data encryption purposes.
- It uses cryptographic keys to secure.
- This reduces unauthorized access such as phishing attacks and so on.
- TPM is impossible to modify except for expert hackers or developers.
- TPM 1.2 is used in Windows 10 version 1607 and later.
- TPM 2.0 is a basic system requirement in Windows 11 operating system.
How to check if your PC has TPM or not?
In today’s, most of the computers are already incorporated into TPM functionality. But if you are wondering whether or not your PC has TPM then, there are few ways to do that. Some of them are:
-
Using Windows Settings
- Go to the Start Menu.
- Select the Settings or Gear icon.
- Then, Go to the last option, Update & Security.
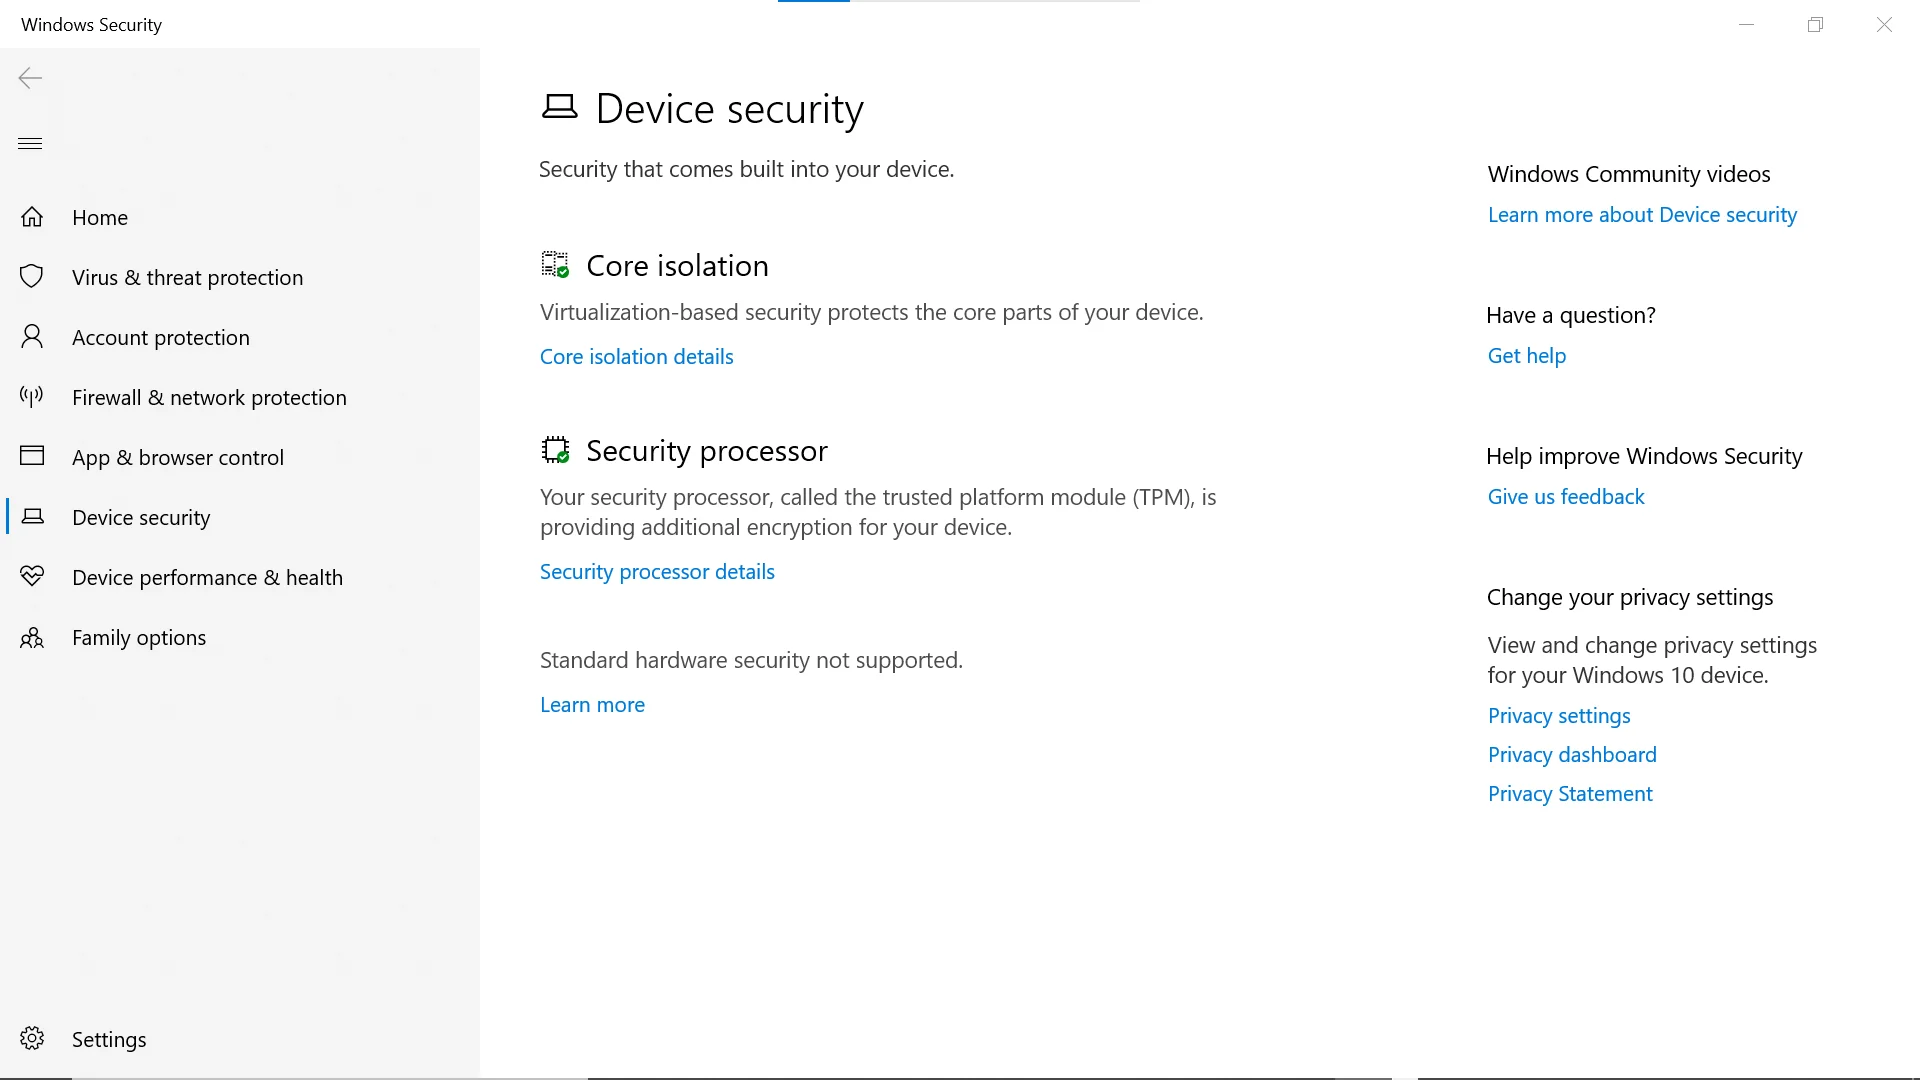
- Next, Select Windows Security from the left tab menu.
- Then, Click on the Device security from the Protection areas
- Now, if you are able to see a green checkmark on the Security processor icon, it means you got TPM on your computer. For further details, click on the Security processor details.
-
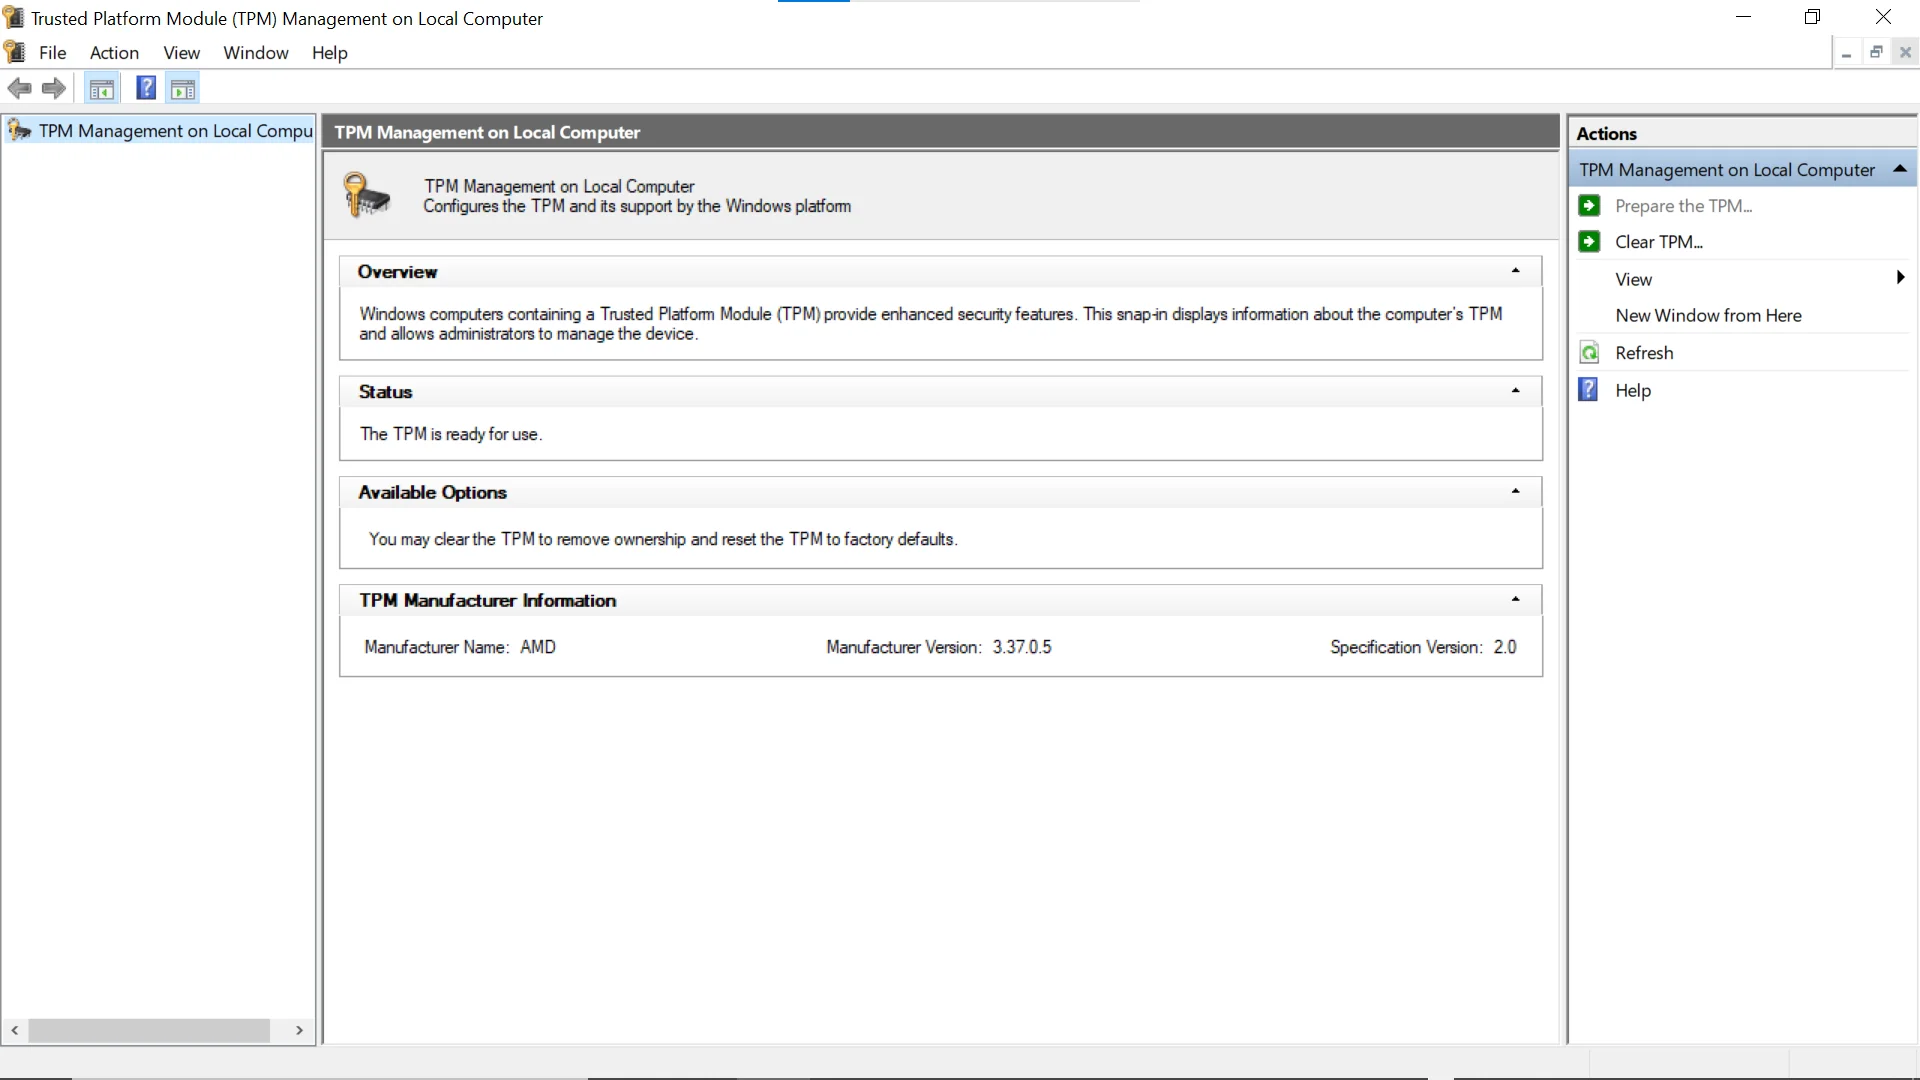
Using tpm.msc Command
- Go to the Start Menu.
- Open the Run application
- Then, type tpm.msc and click on the OK button.
- Now, if you are able to find that, “The TPM is ready for use.” on the popup screen. It means you got TPM on your computer. For further details, read more information on the Microsoft Management Console Window.
-
Using BIOS Settings
- Go to the Start Menu.
- Then, Restart your PC
- Next, Go to your PC’s BIOS using F1, F2, F10, Delete, or ESC keys from your keyboard. It may be different keys depends upon your computer.
- Once you are in the BIOS of your computer then, Navigate to the Security tab.
- Now, find the settings options like “TPM Device” or “AMD fTPM Switch” or “PTT” or something else.
- Once you are able to find those settings then, Enable it.
- Next, Save the changes you made it.
- Then, Restart your PC.
- Now, Your computer has successfully enabled TPM.
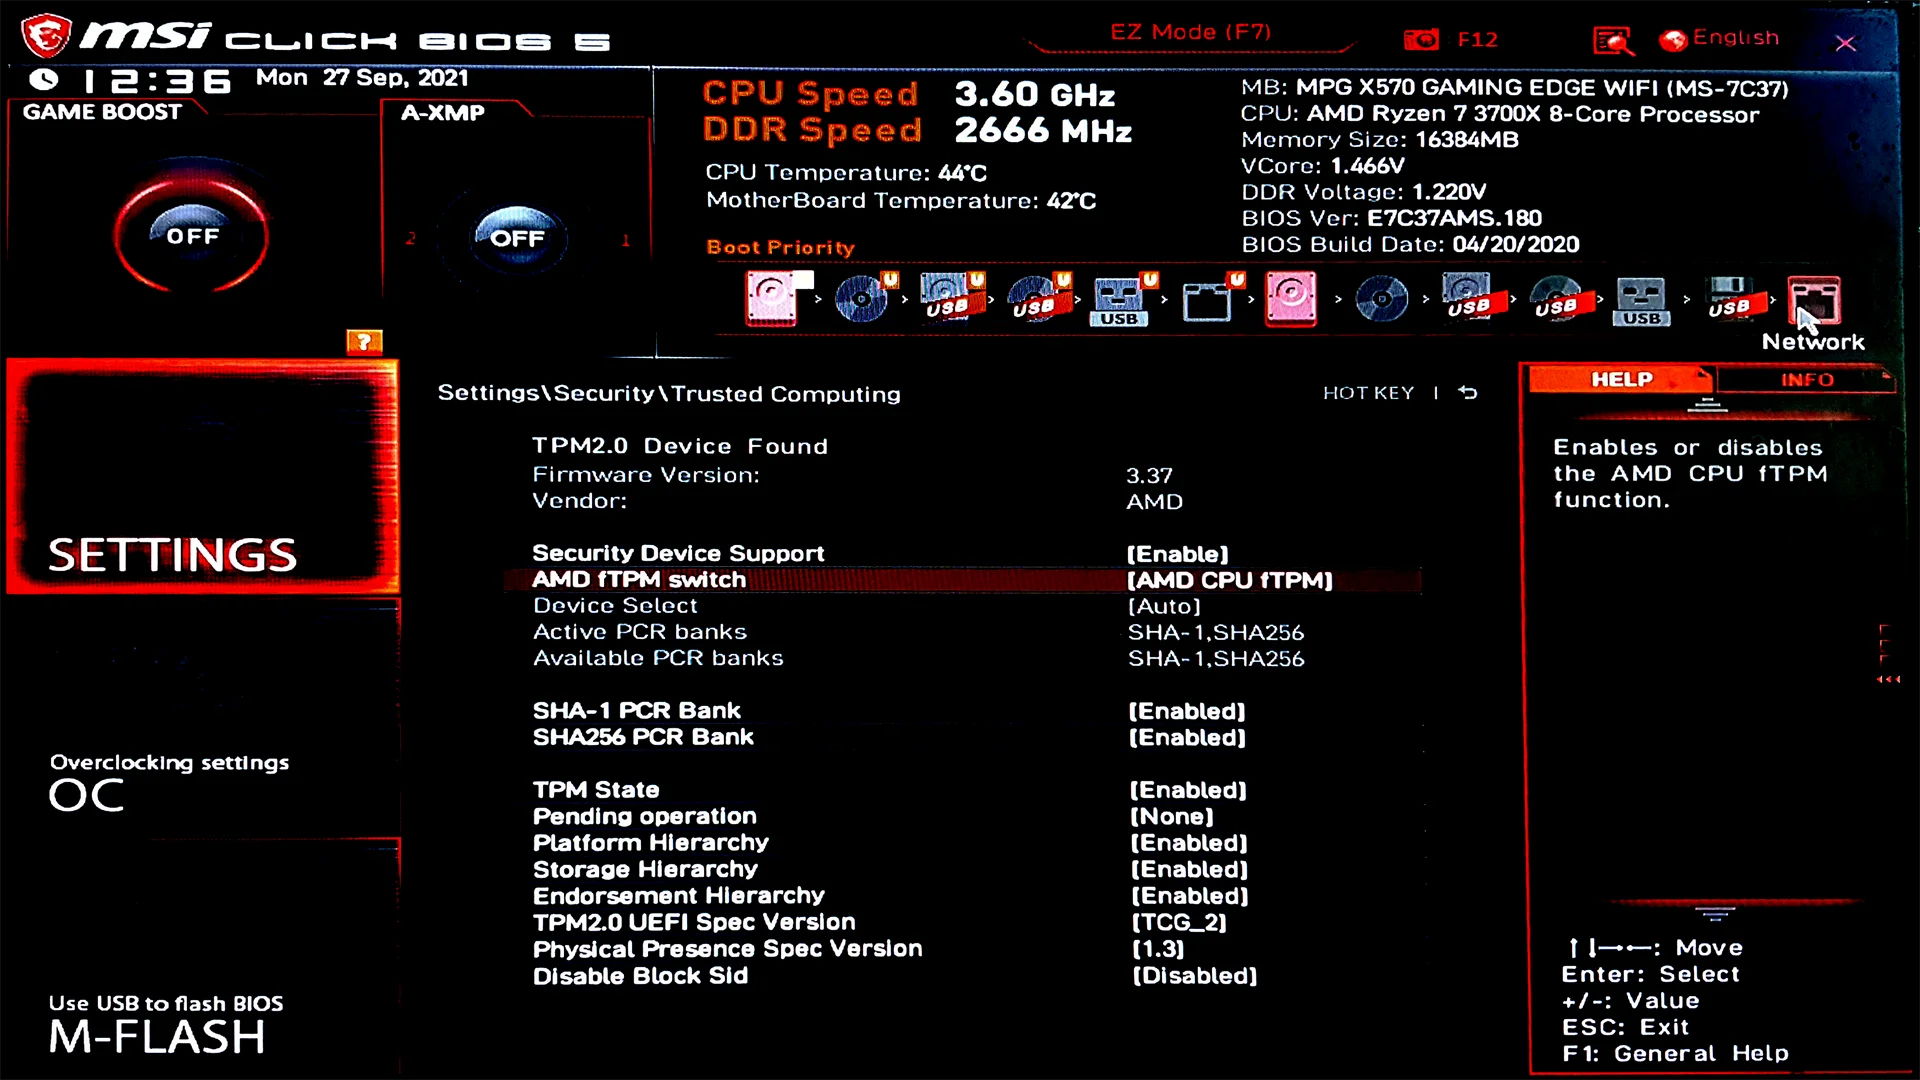
You can confirm this by repeating methods 1 & 2.
-
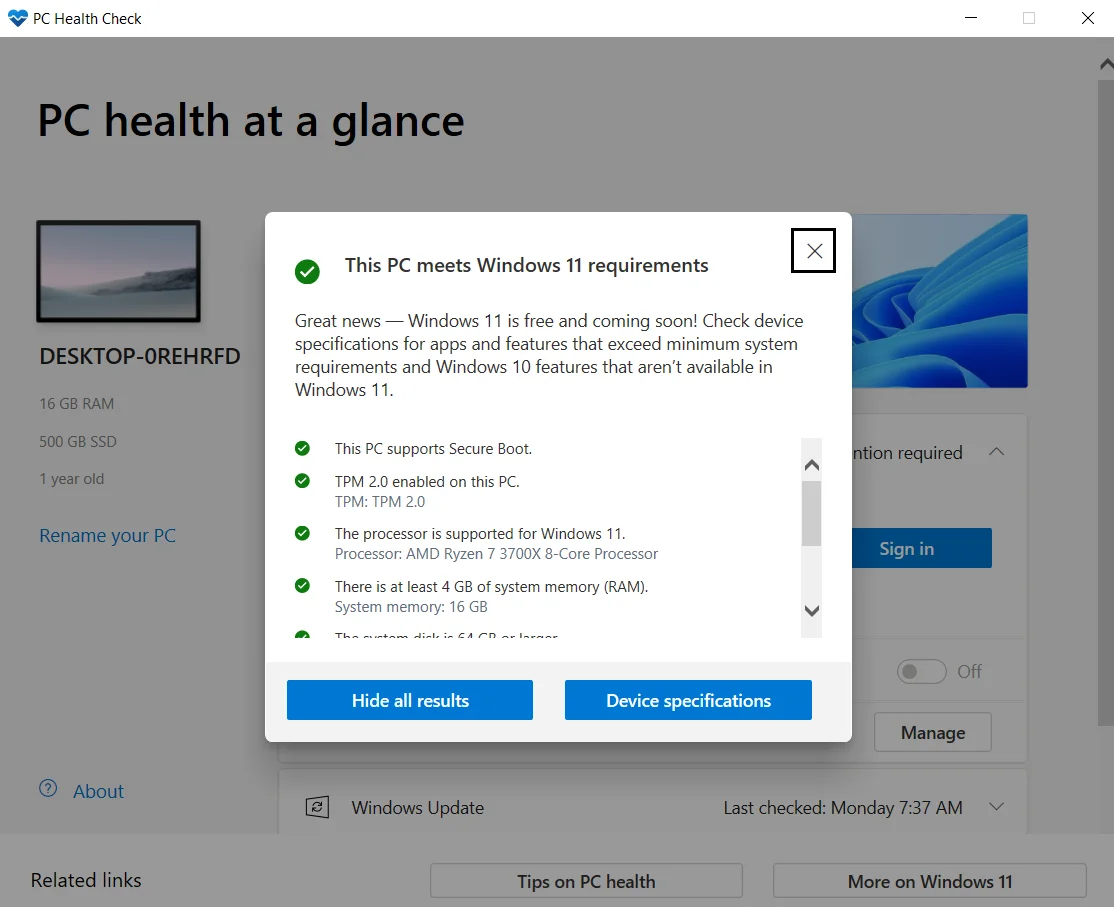
Using PC Health Check Application
- Open any Internet Browser.
- Then, Go to this link: https://aka.ms/GetPCHealthCheckApp
- Next, Download and Install PC Health Check App.
- Then, Open PC Health Check App.
- In PC Health Check App, Click on the Check now button.
- Then, Click on See all results.
- Now, if you are able to see a green checkmark in TPM 2.0, it means you have TPM on your computer.

Any Question / Leave a comment ?
--- Thank you for your attention! ---